

UGC Equipment for Beginners: What You Actually Need (and What Can Wait)

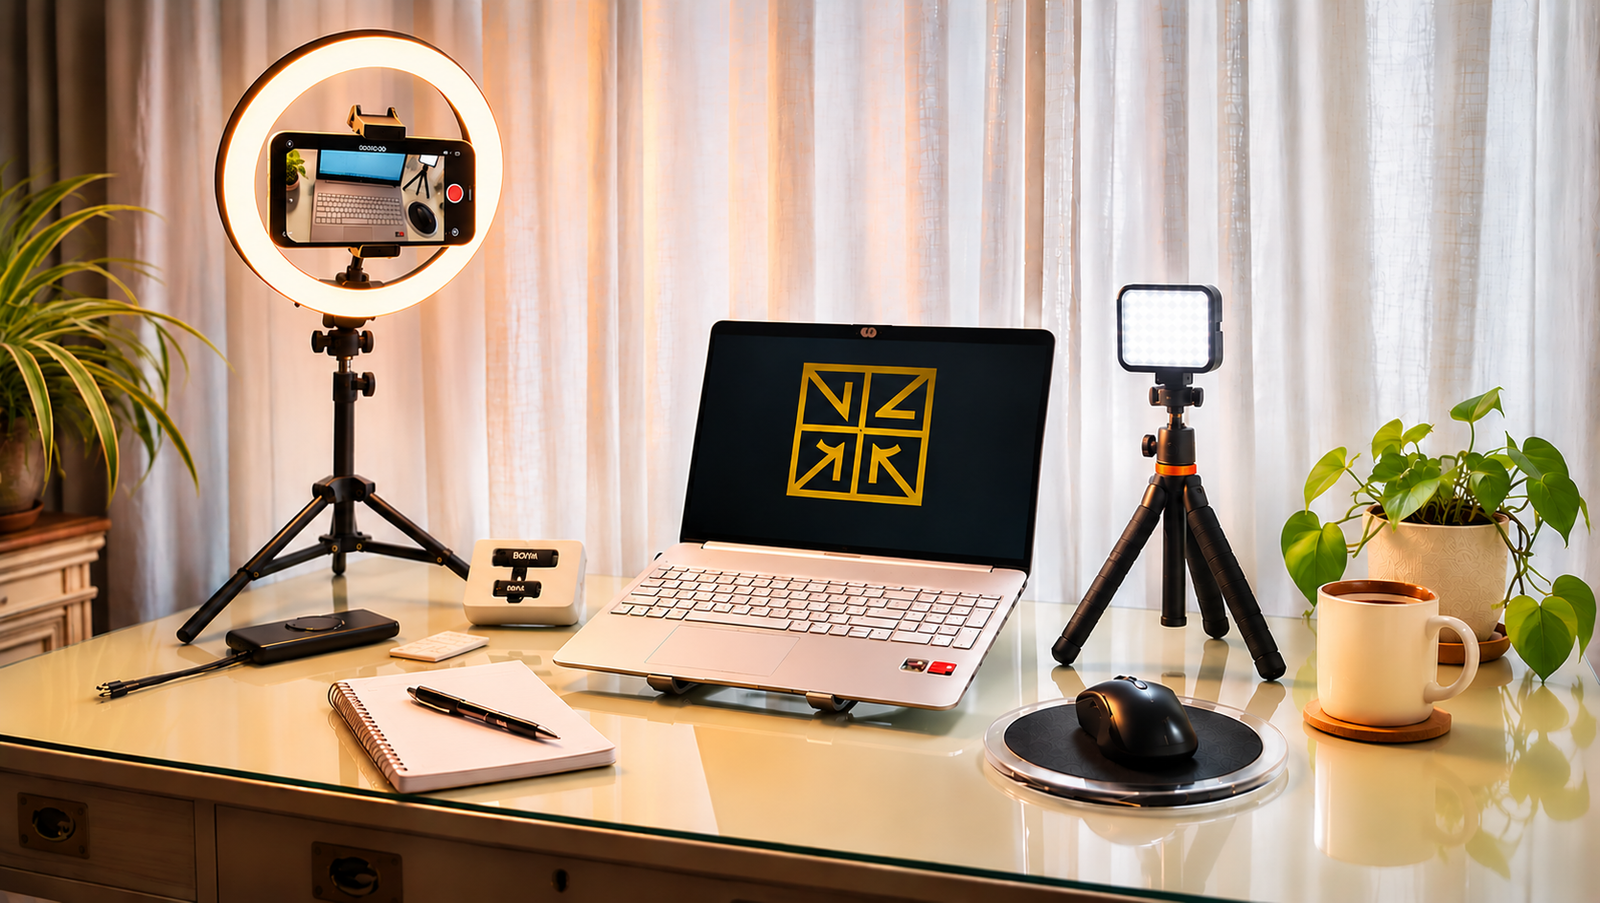
Do you really need a camera, professional lights, an expensive microphone, and a complete studio to become a UGC creator?
Short answer: No.
One of the biggest mistakes beginners can make is buying equipment before understanding what they actually need.
When you’re starting your UGC journey, it’s easy to believe that better equipment automatically means better videos. You see creators with beautiful studios, professional cameras, perfect lighting, and sophisticated setups.
And suddenly, your smartphone doesn’t seem good enough anymore.
But here’s something worth remembering:
You don’t need a professional setup to start creating UGC. You need a setup that allows you to start practicing.
Let’s look at the UGC equipment beginners should prioritize, which upgrades can make a difference, and what can wait until later.
1. Your Smartphone is your First UGC Camera
Before buying anything, take a look at the smartphone you already own.
Can it record reasonably clear videos? Can you adjust the framing, focus, and exposure? Do you know how to get the best results from its camera?
If the answer is yes, you already have your first piece of UGC equipment.
I started creating content with a basic Motorola smartphone, natural window light, and equipment I already had at home.
It wasn’t a professional setup, but it allowed me to learn.
Before upgrading your phone, practice recording in different lighting conditions, cleaning the lens, stabilizing your shots, and experimenting with camera angles.
My advice: Don’t replace your smartphone just because other creators use more expensive devices. First, learn what your current camera can do.
2. A Smartphone Tripod: A Practical First Upgrade
If you regularly record videos alone, a tripod can make your work much easier.
It helps you maintain a stable frame, record hands-free demonstrations, and repeat the same shot without constantly repositioning your phone.
A smartphone tripod that follow you in each moviment can be especially useful for:
- Talking-to-camera videos
- Product demonstrations
- Tutorials and unboxings
- Full-body or lifestyle shots
You don’t necessarily need a professional camera tripod. A practical smartphone model with adjustable height and a secure phone holder may be enough.
An option to explore: 180 cm smartphone tripod with remote and two fill lights — View on Amazon.
Check stability, phone compatibility, and the space available in your recording area before choosing.
3. A Microphone: Upgrade When Audio Becomes a Problem
Clear audio matters when your content depends on spoken explanations, testimonials, tutorials, or voiceovers.
But does that mean you need an external microphone from day one?
Not necessarily.
Start by recording in a quiet room, turning off noisy appliances, and positioning your smartphone closer to your voice.
Listen to your recordings with headphones.
If your voice sounds distant, unclear, or overwhelmed by background noise, a microphone may become a worthwhile upgrade.
A wireless lavalier microphone can be useful when you move around, demonstrate products, or record yourself at a distance from the camera.
An option to explore: BOYA BY-V20 wireless lavalier microphone — View on Amazon.
Before purchasing, verify the connector and compatibility with your smartphone.
Remember: Buy a microphone to solve an audio problem, not simply because it’s on a beginner equipment checklist.
4. Lighting: Use Your Window Before Buying a Light
Good lighting can make a significant difference in how your videos look.
But your first light source might already be in your home.
A window can provide beautiful, soft illumination when positioned correctly.
Try recording while facing the window or standing slightly to one side. Avoid placing a bright window directly behind you unless you intentionally want a silhouette.
Once you’ve experimented with natural light, ask yourself:
Do I actually need an artificial light?
If you regularly record at night, work in a dark room, or need more consistent lighting, a small LED light may help.
An option to explore: ALTSON 60 rechargeable LED video light — View on Amazon.
A compact light can be a practical option for creators who don’t have room for a large lighting setup.
5. A Reflector: An Optional Tool for Better Natural Light
Before buying multiple lights, you can experiment with redirecting the light you already have.
A reflector can help brighten the shadowed side of your face or a product.
Even a simple white surface can help you understand how reflected light works.
A foldable reflector gives you more options as your filming skills develop.
An option to explore: 5-in-1 photography reflector, 60 cm — View on Amazon.
This is useful for certain setups, but it’s not an essential beginner purchase.
6. Ring Lights and Softboxes: Useful, but Not Your Starting Point
A ring light can be convenient for talking-to-camera videos, particularly when you need a compact, front-facing light source.
A softbox can produce more diffused illumination and may be useful for a more controlled filming environment.
However, you don’t need both.
In fact, you may not need either if your current lighting already works.
Here are two options from my equipment research list:
Choose according to your recording space, the type of content you create, and the lighting problem you’re trying to solve.
7. A Smartphone Camera Monitor: Save This for Later
Some creators prefer recording with their smartphone’s rear camera while monitoring their framing on an external screen.
A wireless camera monitor can make that workflow easier.
But for a beginner, this is a specialized accessory rather than a priority.
You can practice framing, camera positioning, and recording without one.
An option to explore later: Rollei Selfie Monitor Schermo 3,97″ per iPhone 7-17 e Android Nero
Check device compatibility carefully. The model in this list is marketed for specific iPhone setups.
But remember: these aren’t essential purchases for your first UGC videos. Start with the storage and connectivity options you already have, establish a simple backup routine, and upgrade only when your workflow requires it. Before buying, check device compatibility, transfer speeds, charging requirements, and the specifications that actually matter for your setup.
What Should You Buy First? A Simple Decision Guide
Instead of following a universal shopping list, use your actual filming experience to decide.
| If your main problem is… | Consider… |
|---|---|
| Shaky footage or filming alone | A smartphone tripod |
| Unclear voice recordings | An external microphone |
| Not enough natural light | A compact LED light |
| Strong shadows | Better positioning or a reflector |
| Inconsistent lighting in a fixed studio | A ring light or softbox |
| Difficulty monitoring rear-camera framing | A compatible external monitor, later |
You don’t need to buy all these tools. You need to identify which one solves your next problem.
Your First UGC Setup Can Be Surprisingly Simple
For your first portfolio videos, try this:
Use your smartphone. Position yourself near a window. Find a quiet space. Stabilize your phone with a tripod or another secure support.
Choose a product you already own and create a short demonstration.
Record it. Edit it. Watch it.
Then ask yourself three questions:
- Can viewers clearly see what I’m demonstrating?
- Can they understand what I’m saying?
- Does the video communicate why the product is useful?
If the answer is yes, you have something you can improve through practice.
If something isn’t working, you’ve identified your next learning opportunity—and possibly your next equipment upgrade.
Build Your UGC Setup as Your Skills Grow
There’s nothing wrong with investing in professional equipment.
As you develop your skills, build your portfolio, and begin working with clients, better tools may help you deliver more consistent results.
But the order matters.
Start with what you have. Practice. Identify a limitation. Invest to overcome it.
Your goal isn’t to own the most impressive creator setup.
Your goal is to develop the skills to create useful, convincing content—and eventually deliver work that clients value.
Your Next Step
Before buying anything, create three short UGC videos using your current equipment.
Try a talking-to-camera video, a product demonstration, and a simple voiceover.
Then identify the one technical issue that affects your videos the most.
That’s where your next investment decision should begin.
New to UGC? Read How to Start Creating UGC for more guidance on getting started with what you already have.
Affiliate disclosure: As an Amazon Associate, I earn from qualifying purchases. Some links in this article are affiliate links, which means I may earn a commission if you make a qualifying purchase.
Products mentioned are examples to consider, not a list of required purchases. Check current specifications and compatibility before buying.